How to Place a Plate
Procedure
-
To place a plate you need to use the Place Plate entry in the Construction menu.
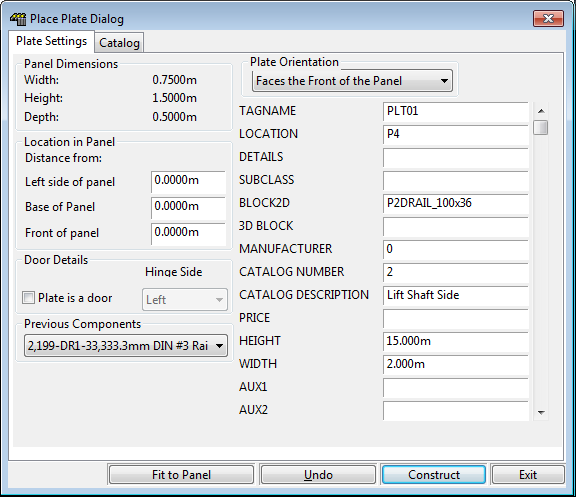
If your model contains no panels you will immediately be presented with the Place Plate Dialog shown below. However if you have a single panel, the plate dialog will assume that you want to mount your plate in that panel and will automatically select it for you. If you have more than one panel you will be asked to pick a panel to mount the plate in. If you do not wish to mount the plate in a panel, push escape.
-
The set of data fields on the right of the dialog box contains the information about the plate that you are going to insert. You can manually enter data into these fields or click on the Catalog tab at the top of the dialog to pick a plate from a catalog. For an explanation of each of the fields for a plate, see the Plate Attributes reference item.
-
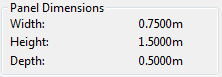
The Panel Dimensions group at the top left of the dialog shows you the dimensions of the panel you are mounting your plate in.
-
The Location in Panel group shows you the position of the bottom left corner of the plate in relation to the front bottom left corner of the panel.
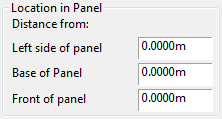
You may type in these offsets along with their units. If you do not include units they will default to your base units, which will be inches if you are running imperial and metres if running metric.
-
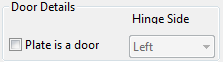
The Door details group allows you to specify if the plate you are placing is a door or not and what side the door will hinge on.
-
On the left side of the dialog you will see the Previous Components list. To learn more about how to use this, see the Using Previous Components reference item.
-
The plate orientation drop-list allows you to choose the direction the plate will face in the panel.
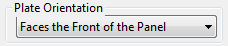
For example, if you wanted the plate to face the front of the panel you would choose Faces front of Panel option.
-
The Fit to Panel button will automatically make the plate width and height fit the panel, based on the current position in the panel and the direction the plate faces. For example, if you have a panel that is 2000mm high, 800mm deep and 600mm wide and your plate position is 500mm from the bottom, 0mm from the left and 0mm from the front of the panel and your plate faces the front of the panel, it will be made 600mm wide and 1500mm high.
-
If you want Paneldes to make the panel you have chosen for the location of the plate visible in AutoCAD, click the Navigate to Panel button.
-
-
Once you think you have provided sufficient information to construct the plate, click on the Construct button. If you have not entered sufficient information for Paneldes to construct your plate you will be warned that one or more parameters are missing.
-
You may also be warned that a plate with the same tagname and location as the one you are about to place already exists on the drawing. You may duplicate the component but it is not recommended to do so.
-
Once you have enough information the dialog will disappear and you will be asked to pick the position for the plate on the AutoCAD command line. You will also notice that the cursor will be showing you a white box representing the outline of the plate you are about to insert.
-
For a full description of all the available options when placing a Paneldes object, see the Placing Paneldes Objects reference.
-
Once you have chosen the position and orientation for the plate you can either click the left mouse button or type in the position on the command line as a 3D point, then push enter. The plate will be constructed and you will be returned to the Place Plate Dialog, ready to place another plate.
-
If you want to undo the last plate you have constructed, click on the Undo button. Your drawing will be restored to the state it was in, prior to you constructing the plate. This button is equivalent to the AutoCAD undo command.
-
To exit without constructing another plate, click on the Exit button or close with the X in the corner of the window.