How to Insert a Border
General
Paneldes provides a border insertion macro. The Paneldes border insertion macro places the border of your choice in PAPERSPACE. Paneldes will offer you a choice of any border drawing you have placed in the <EDS> \IMP_BORD directory (<EDS>\MET_BORD for metric users).
The border will be inserted to Paperspace, at 1 to 1 scaling, base Point 0.0, 0.0 on layer BORDER.
Procedure
-
Select the INSERT BORDER function from the Utilities and BOM menu. You will be presented with the following dialog box.
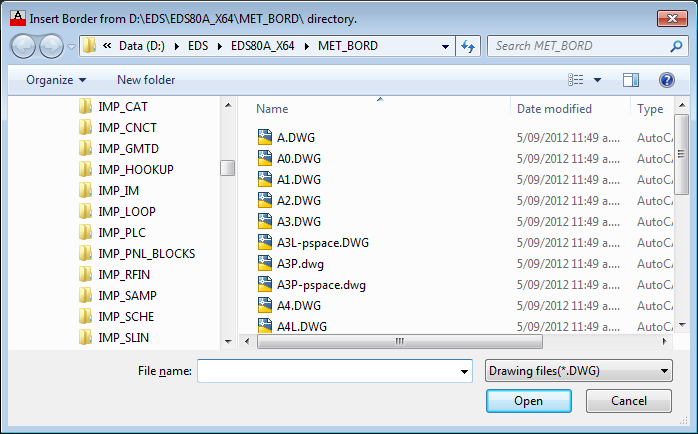
This is the standard AutoCAD file selection dialog box. The list contains the files of type *.DWG contained in the border directory.
-
Select the border drawing you desire by clicking the mouse on it.
-
Click the OK button to confirm your selected border and have it inserted.
-
The border will be inserted and you will be returned to the drawing session.
The drawing session will be left in the PAPERSPACE construction mode. You may work on your border in paperspace.