How to Place an Array of Zones with Specified Sizes
General
The zone dialog allows you to place an array of zones by specifying the number of rows and columns, width and height of each zone, the spacing between the zones and the insertion point of the first zone.
Procedure
-
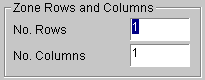
Enter the number of rows and columns that you wish to have in your array of zones. Note that setting both rows and columns to one will result in the creation of a single zone.
-
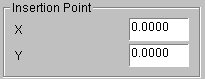
Enter the insertion point of the first zone. This will be the top left corner of the first zone in the array.
-
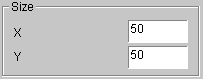
Enter the size of the zones. X is the Width and Y is the Height.
-
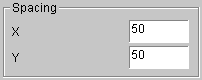
Enter the spacing of the zones. X is the distance between each column and Y is the distance between each row.
-
Make sure Pick on Screen unticked.
-
Choose the type of zones that you wish place. Either Normal or 1 Line
-
Choose the name of the first zone in the array. The zones in the area will be numbered in sequence based on this initial name.
-
Configure the zone symbol that you wish to use. See How to Configure the Zone Symbol.
-
Click on the Preview button. Elecdes will show you how the array of zones is going to appear when constructed. Press a key to return to the dialog.
-
If you are happy with the preview, then click on the OK button.
-
Elecdes will construct the array of zones